Measurement Trains & Systems
Train Monitoring
Comprehensive inspections detect safety issues like onboard fires or irregular train shapes.
Train Profile
Train integrity must be monitored before entering tunnels to prevent accidents caused by protruding objects, which pose risks to passengers and infrastructure. The system uses laser technology with a high sampling rate to detect gauge interference, coupled with traditional video surveillance to capture a sequence of digital images of the train. This combination ensures the timely identification of any faults or objects that could affect safety.
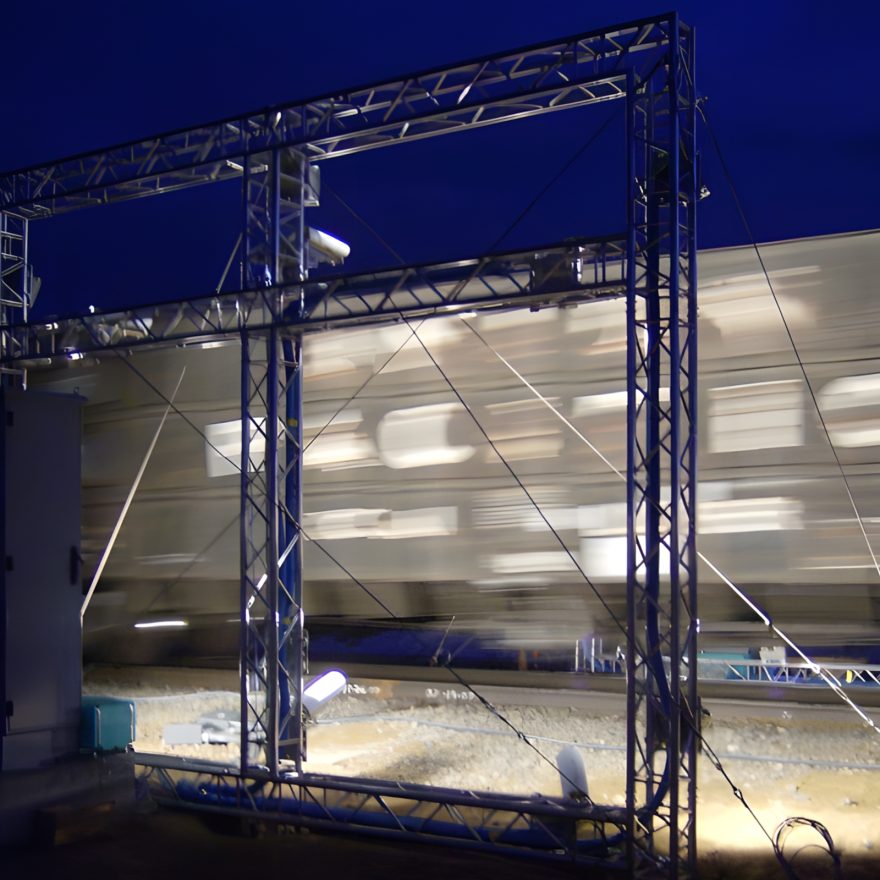
The system captures the train’s 3D profile using laser triangulation and high-resolution cameras at speeds up to 300 km/h. An algorithm processes the data, comparing it with UIC 505 thresholds to detect irregular shapes exceeding the allowed clearance area.
The system measures the train gauge at any speed, using lasers and cameras to monitor exceedances. It visualizes issues in reports and a graphical interface, and can be used for both single and double track inspections.
Train Temperature: Thermographic Scanning
Hot axle boxes or burning loads must be detected before entering tunnels to prevent disasters. A thermal camera creates a thermal map, but accurate temperature evaluation requires consideration of material emissivity, surface roughness, and viewing angle. MERMEC’s advanced scanner uses specialized sensors to create a precise thermal map, identifying temperature anomalies across the train’s surface.
Pantograph Parameters
The interaction between the pantograph and the catenary is influenced by various internal and external factors that affect the system’s dynamic behavior, leading to parameter variations. A pantograph in non-standard conditions can damage the contact line or require specific maintenance. Therefore, a complete inspection of all pantograph components is necessary for accurate data correlation.
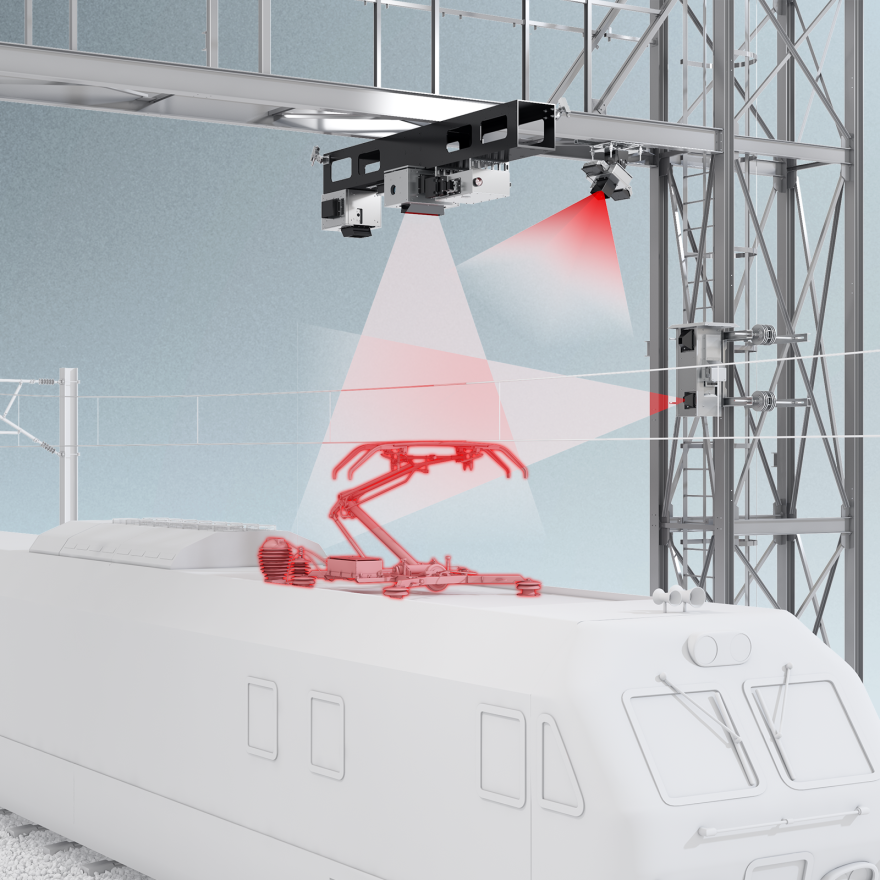
The Morph & Wear module performs 3D measurements of the pantograph using a laser beam and digital camera. It identifies shape defects in the pantograph head by comparing with 3D models or previous scans, and measures wear on the contact strip for material loss.
This unit captures a color image of each pantograph, combined with data from other modules. It uses a color scan camera with infrared illumination, safe for the eyes, activated at night. Nighttime images appear in grayscale.
The Y-Tension Module measures the contact wire’s vertical position during pantograph transit to determine pressure. Data is captured when the train enters the monitored area and saved for a predefined time span before and after the pantograph passes.
The LineScan module captures high-speed, high-resolution images of the contact shoe’s upper surface, automatically identifying the material and detecting cracks.
Brake Parameters
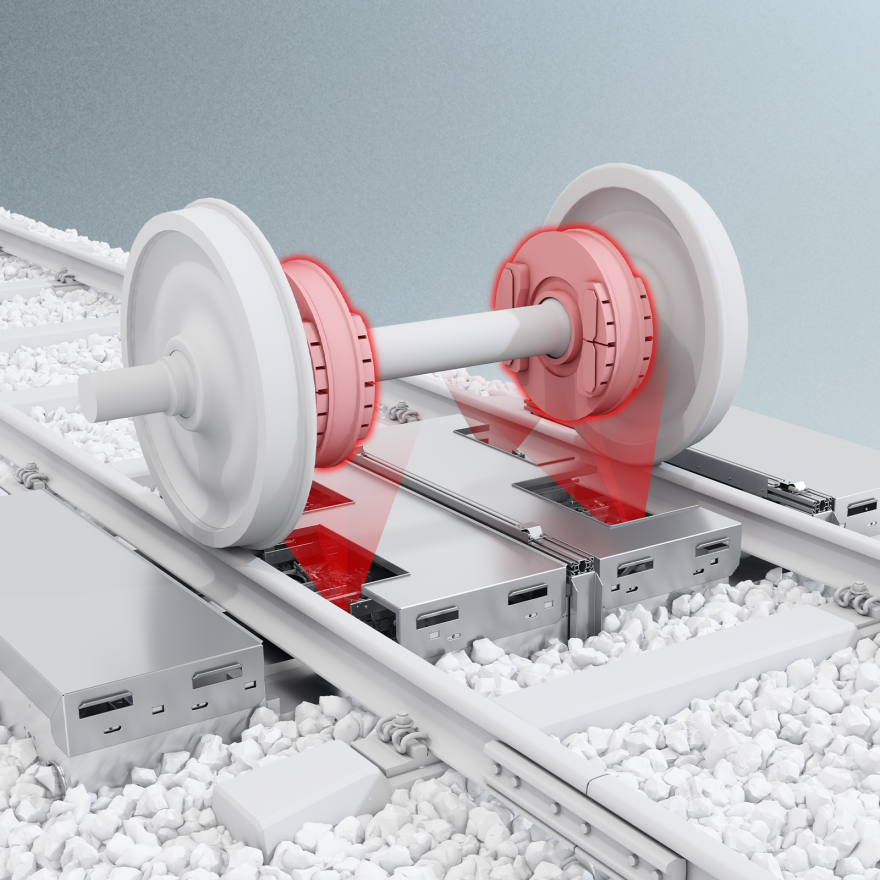
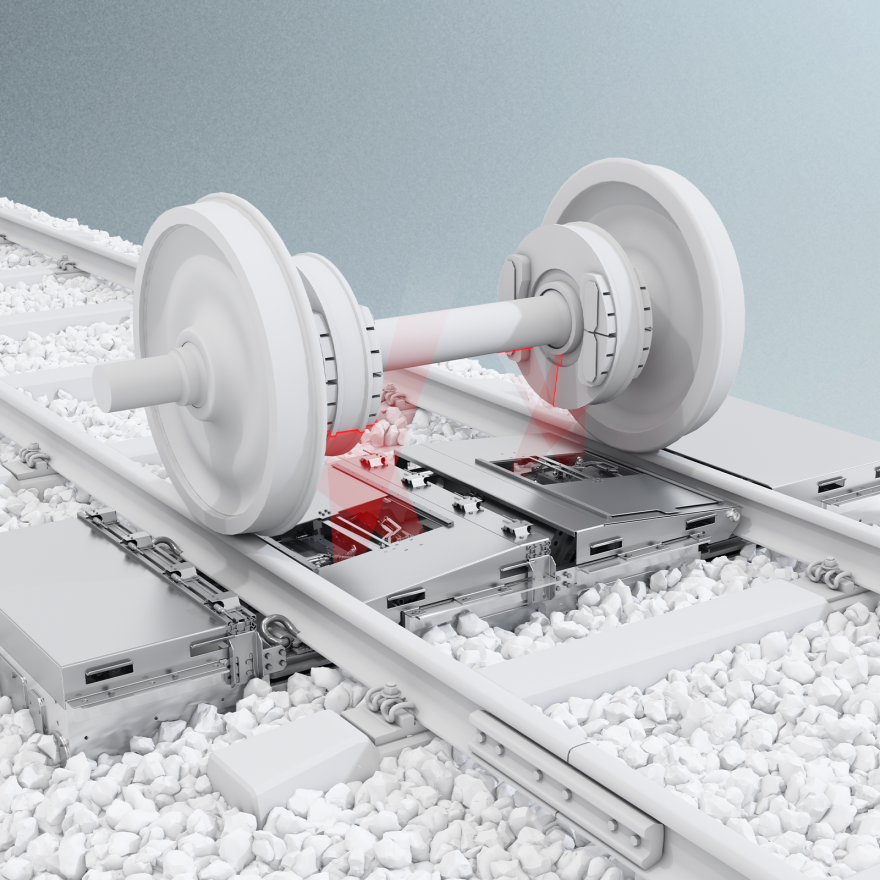
Brakes are designed to wear out, but monitoring wear rates is essential to maximize brake life and prevent failures from inefficient interaction with the wheels, which can cause damage. Tracking wear trends enables predictive maintenance. The rail wheel and brake interaction are crucial for the safety and quality of railway transport.
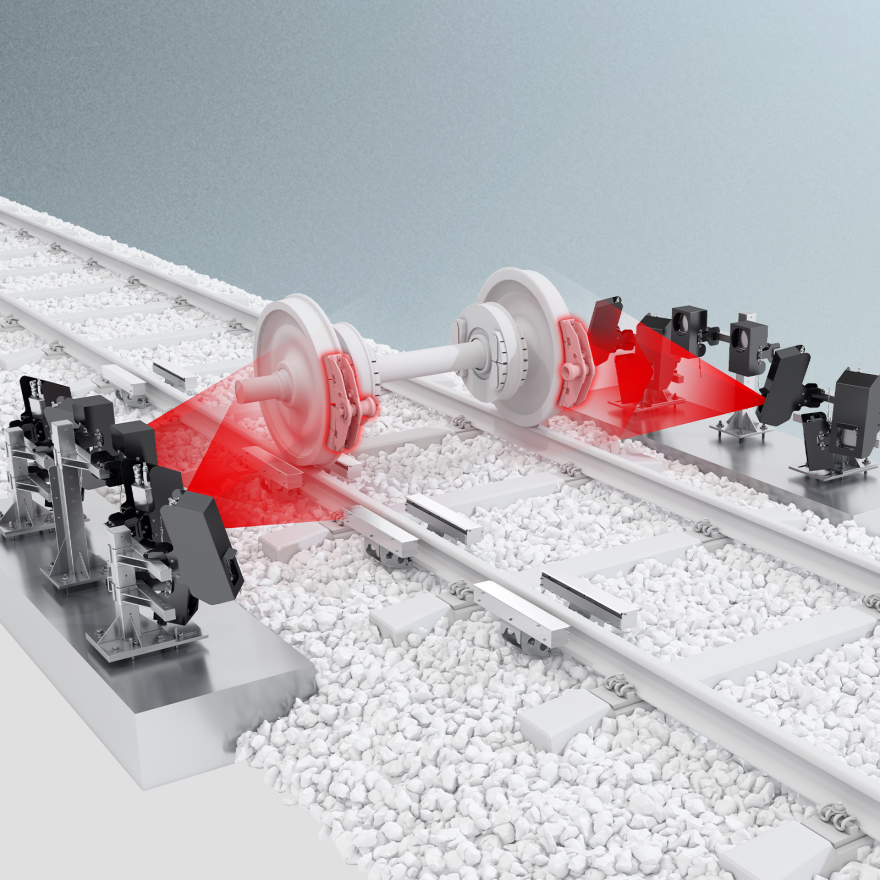
The system measures brake pad wear on both incoming and outgoing trains, providing data for maintenance planning. It compares measured parameters to tolerance thresholds, sending alarms for unusual conditions. It features two configurations for lining (L) and shoe (S) acquisitions, covering various brake pad positions.
The brake disk wear is monitored using a high-speed laser-camera triangulation system, which analyzes the wear status and distribution. The system compares measurements to tolerance thresholds and provides performance trends and predictive maintenance insights.
The system monitors brake shoe wear using image processing of pictures acquired by a detection system. The processing software analyzes the parameters, compares them to tolerance thresholds, and provides performance trends and predictive maintenance insights.
Shoegear Wear
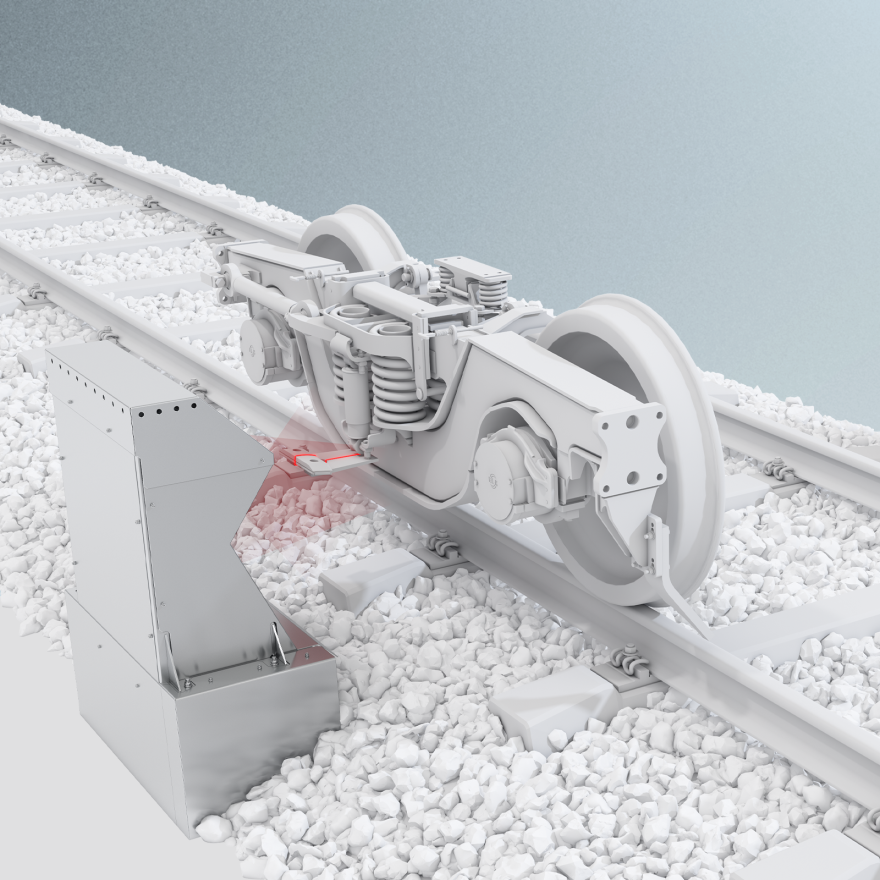
The system inspects the third rail shoegear to ensure optimal interaction and reduce maintenance. Using high-accuracy laser and camera detection units, it measures the shoegear’s profile, wear, and position relative to the Top of Rail during transit, ensuring proper electrical drainage.
Wheel Parameters
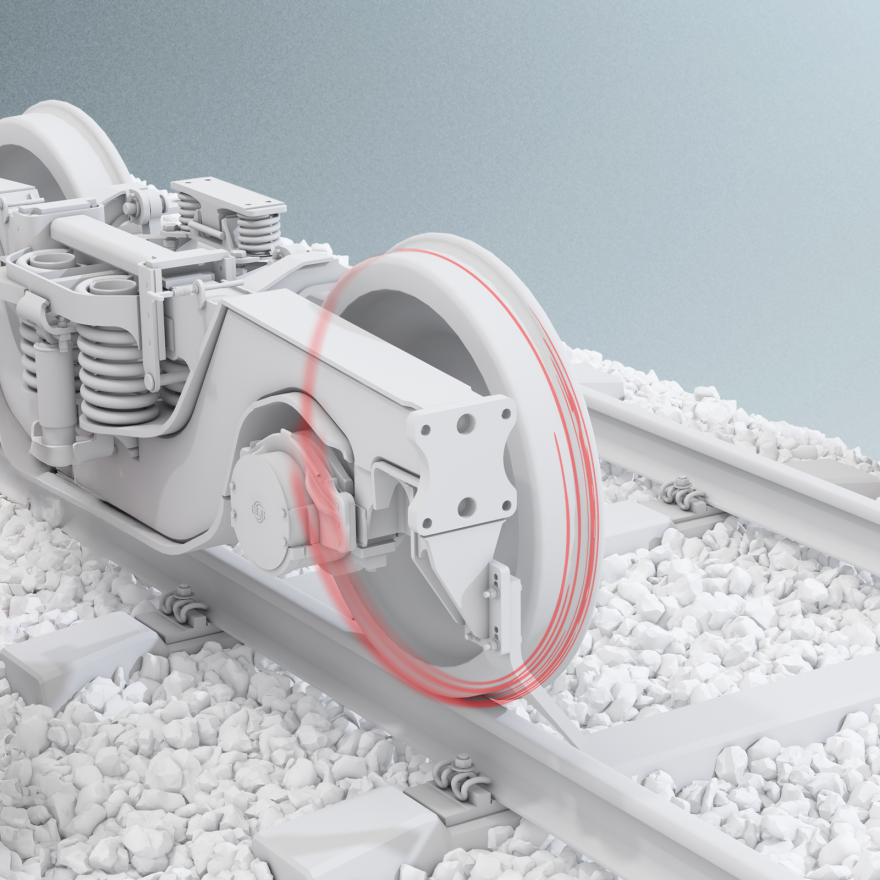
Wheels face high mechanical stress, affecting running behavior and comfort. Regular inspections are crucial for operational reliability. Wheel inspections must detect both surface and internal flaws, similar to rail track assessments, ensuring safe and efficient performance.
The system’s robust design ensures continuous operation in critical environments and long product life. It installs easily on any rail infrastructure without modifications. Measurement units are housed in temperature-controlled carbon-fiber boxes, with shock absorption to reduce train impacts.
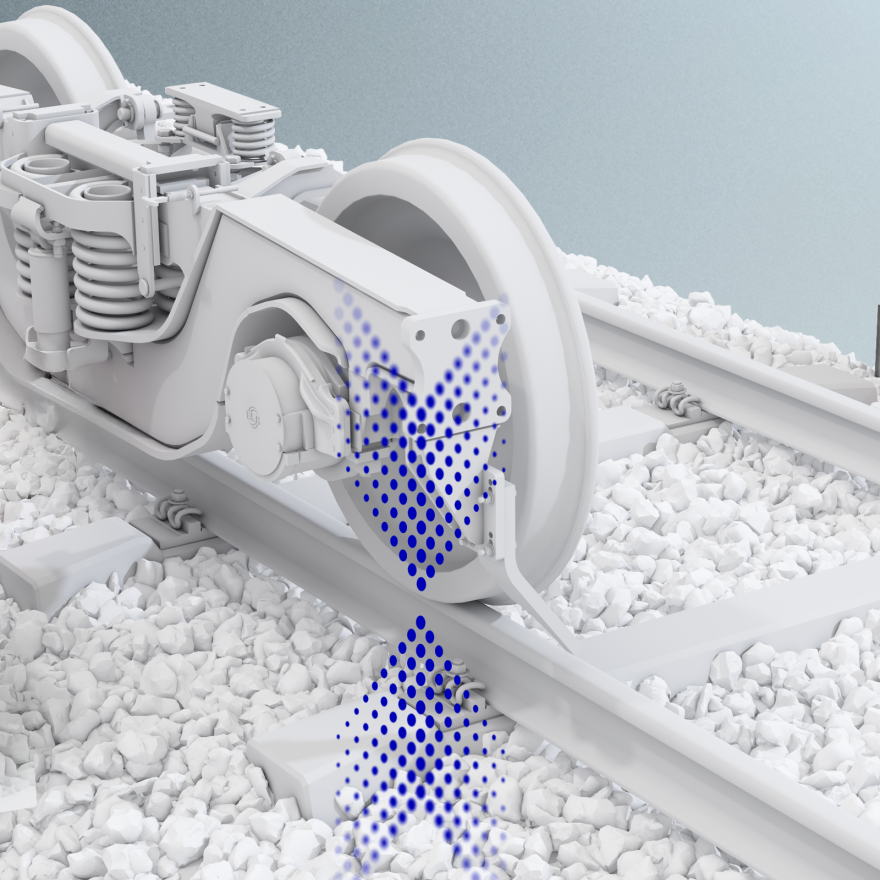
W-INSPECT automatically inspects wheel sets using high-definition cameras and a specialized illumination system. It detects and analyzes defects like shelling, spalling, and flat spots on the wheel tread as the train passes, providing real-time analysis.
The ultrasonic wheel inspection system detects flaws and cracks using Rayleigh waves generated electromagnetically on the wheel’s surface. Reflected waves from defects are identified by the software, operating without a coupling medium and independent of surface conditions.
The system measures wheel deviation from an ideal round shape with high accuracy, starting from 40 km/h. It covers the entire wheel circumference in contact with the track, measuring at least two overruns per wheel. Results are presented both numerically and graphically.
Wheel Impact Load Detector
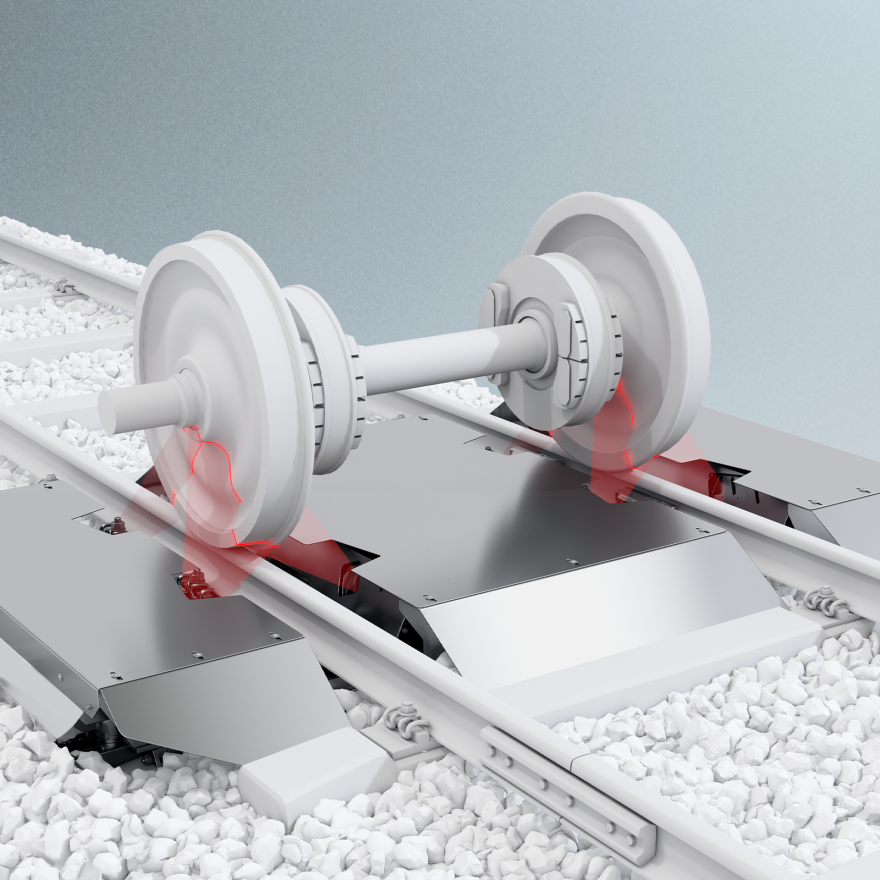
Measuring overloads and shifting loads, detecting dynamic wheel force are crucial parameters that needs to be acquired at normal line speed with the greatest possible accuracy. The system continuous monitor the vertical forces applied by the passing train over the rail. The running behavior of vehicles is not influenced. The system is based on specially engineered sensors which are clamped with no mechanical modification or alteration of the rail, rail fastenings, sleeper (cross-tie), sleeper geometry, permanent way profile, ballast or formation in any way.
Weight-in-Motion
The system enables real-time assessment of the electric power drained from the contact wire by measuring key electric parameters, including voltage and current. It operates in all environmental conditions, providing real-time visualization of traction voltage and current absorbed by rolling stock. The system can be installed on any railway vehicle, either in attended or unattended mode, and operates at speeds up to 320 km/h, using onboard software for continuous data analysis and measurement of electrical parameters.
How can we help you?
We’re here to support you. Whether you have questions about MERMEC solutions or need specific information, our team is ready to assist. Reach out to us, and we’ll ensure you get the answers and guidance you need.
Get in touch

